


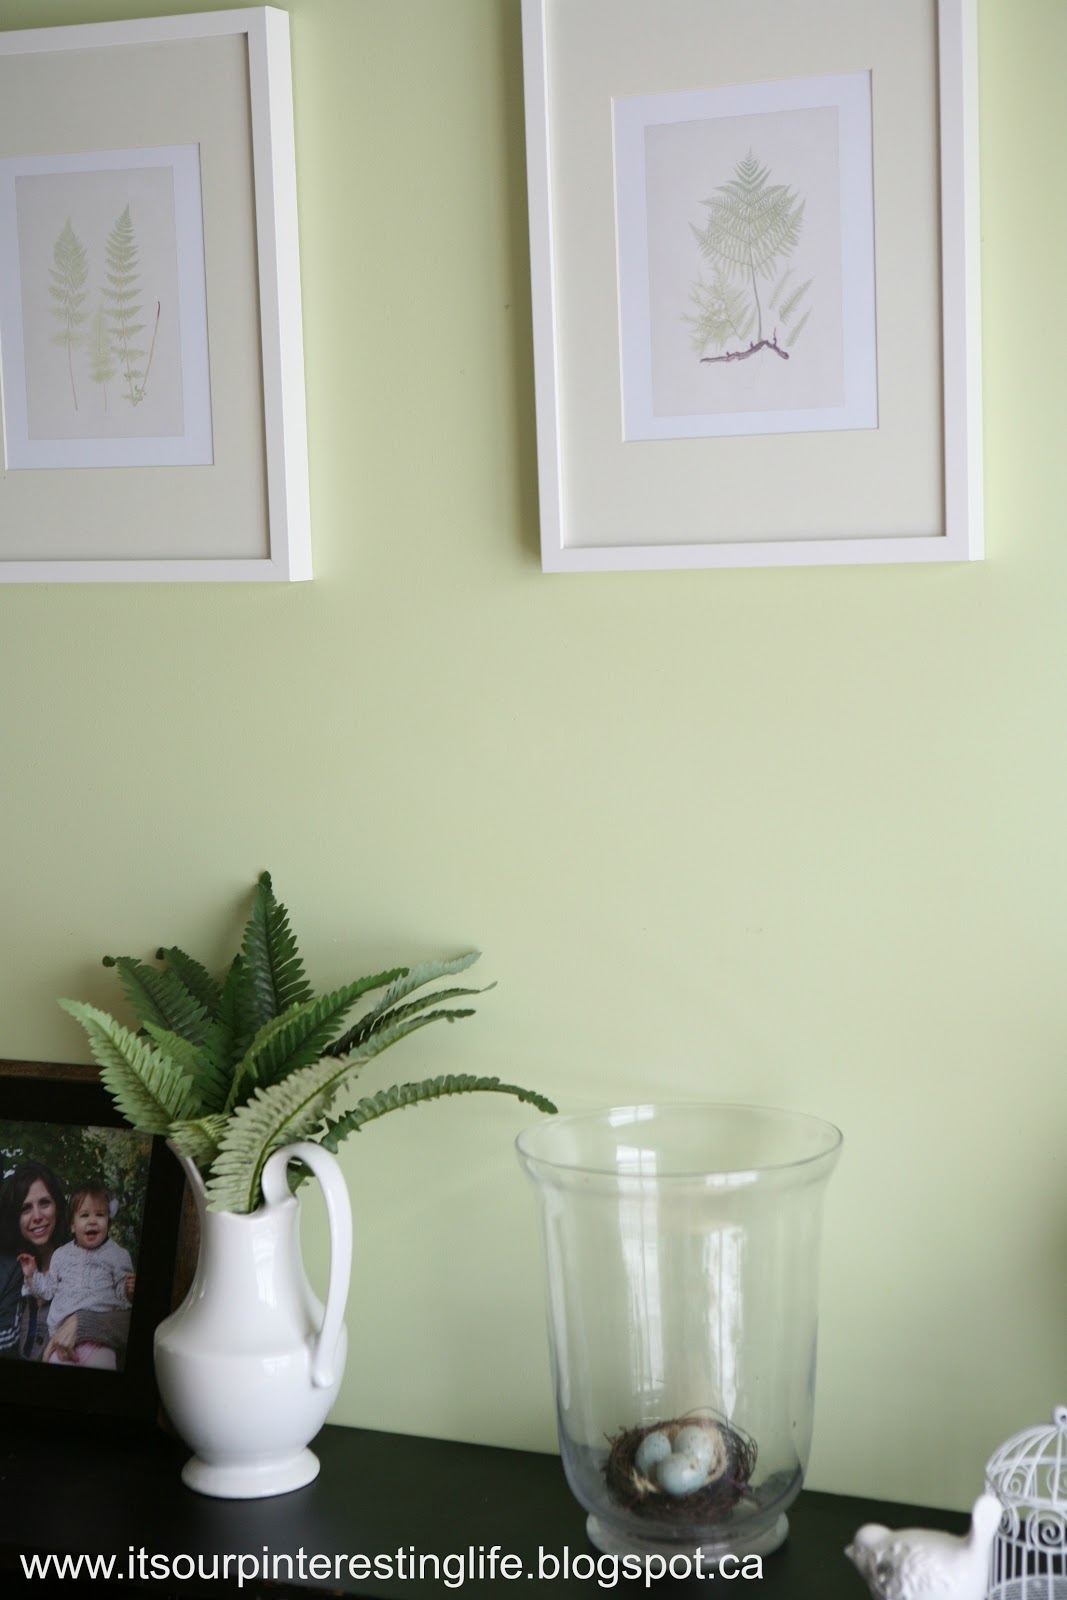
One thing I did accomplish during all that busyness was update our fireplace mantle with some spring touches.


Happy Wednesday. :)


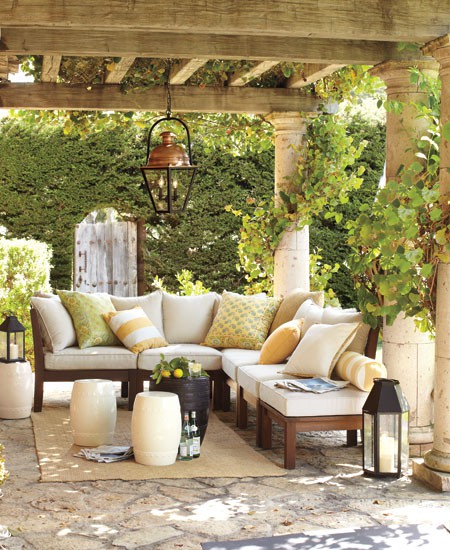
 |
| {Source} |
 |
| {Source} Please don't pin this picture from here. You can click the picture to go right to the source and then pin it. Thanks!
Although some of the projects that I have in mind are fairly large, I also have a few small ones that I want to tackle... like a welcome mat for our front door!
Supplies:
I started out with a basic outdoor mat that I picked up at Canadian Tire, and a cutout that says "hi.". I decided not to go with the typical "Welcome" so instead I chose something that still makes you feel welcome, but will also, hopefully, give our guests a little smile before they enter our home.
Then, using a Cricut machine, I cut out the word "hi.", and measured and taped the stencil to the centre of the mat.
After giving my trusty black spray can of paint a few good shakes, I carefully sprayed the mat making sure to only get paint where the lettering was going to be.
I gave the lettering a few good coats of paint (to make sure that it was really black), and removed the stencil after it was dry.
Now I have a somewhat personalized welcome mat for our front door!
 |


 |
| Both Rust-Oleum and Krylon are great brands to use! |

 |
| I got the topiary balls at the dollar store for $2 each! |


 |
| This is not my front door, but it was pouring rain when I wanted to take pictures. I'm not dedicated enough to get soaked for a picture! |


 |
| My hubby bought these for me this weekend "just because". What a sweetie! |


